
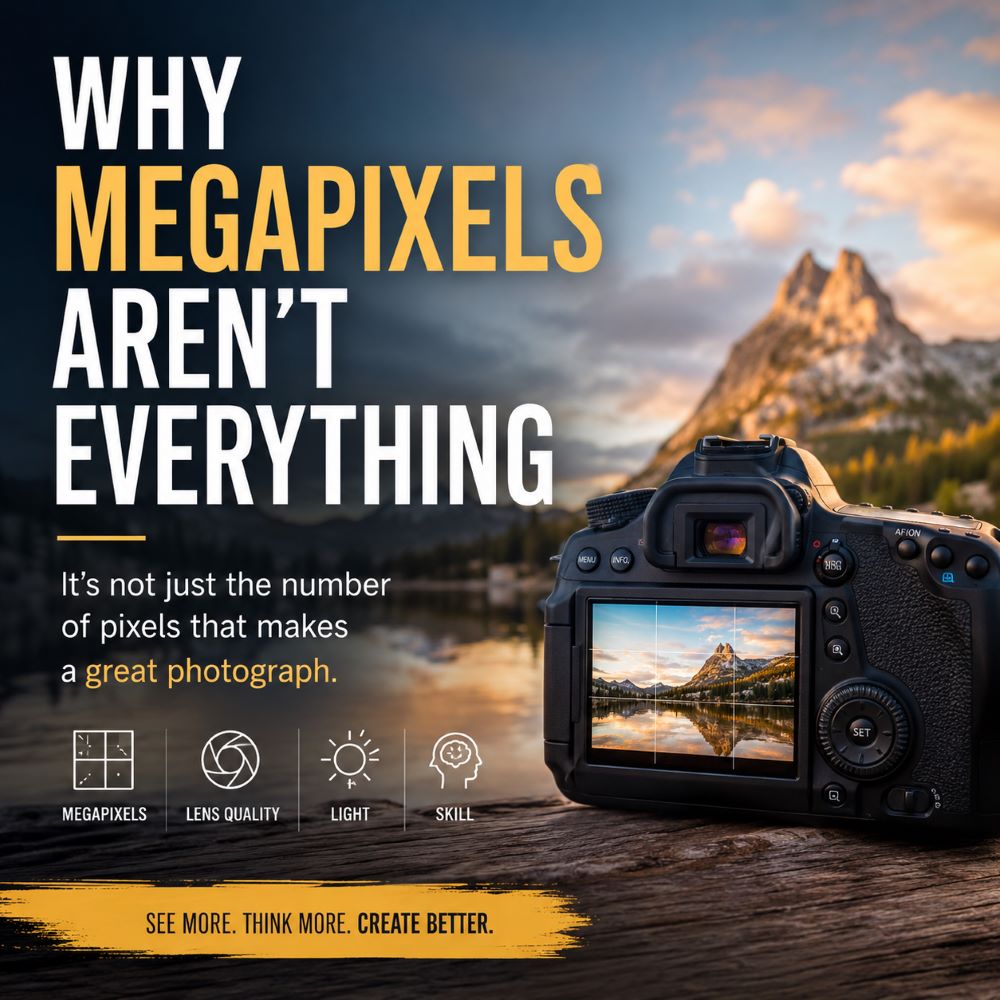
When digital cameras first appeared, one specification quickly became the number everyone talked about: megapixels. The bigger the number, the better the camera — or so we were led to believe. A 5-megapixel camera was replaced by an 8-megapixel camera. Then came 12, 16, 24, 36 and eventually cameras boasting 50, 60 or even more megapixels. But does having more megapixels actually mean you’ll take better photographs? Not necessarily. Megapixels matter, but they are only one small part of what makes a great digital photograph. So, What Exactly Is a Megapixel? A megapixel is simply one million pixels. Digital photographs are made up of tiny individual picture elements called pixels. A camera advertised as having 24 megapixels produces an image containing roughly 24 million of these pixels. For example, an image might be approximately 6,000 pixels wide by 4,000 pixels high: 6,000 × 4,000 = 24,000,000 pixels That’s 24 million pixels — or 24 megapixels. It’s easy to assume that doubling the number of pixels must automatically double the quality. It doesn’t. More Pixels Mean More Detail — Up to a Point Higher resolution can certainly be useful. If you’re photographing wildlife from a distance and later need to crop heavily, having more pixels gives you more information to work with. Similarly, if you’re producing very large prints, additional resolution can be beneficial. But for many everyday photographs, you simply don’t need enormous amounts of resolution. A photograph displayed on a typical computer monitor, tablet or phone doesn’t require anything approaching the maximum resolution of a modern high-end camera. Even a relatively modest modern camera can produce an image with far more detail than most screens can display. The Sensor Matters More One of the most important factors affecting image quality is the camera’s sensor. The sensor is the electronic component that captures the light entering through the lens. Two cameras might both have 24 megapixels, but that doesn’t mean they will produce identical images. A larger sensor can generally gather more light and can offer advantages in dynamic range, noise performance and depth-of-field control. This is one reason why a 24-megapixel full-frame camera can produce very different results from a 24-megapixel smartphone. The number of pixels is the same. The way those pixels are created is not. Pixel Size Matters Too Imagine spreading 24 million people across a large football stadium. Now imagine squeezing those same 24 million people into a much smaller room. The number of people hasn’t changed — but their environment has. Pixels work in a similar way. If you put a very high number of pixels onto a relatively small sensor, each individual photosite becomes smaller. Smaller photosites can collect less light, which can become particularly important in challenging lighting conditions. This doesn’t mean that high-resolution cameras are automatically noisy or inferior. Modern sensor technology and sophisticated image processing have made enormous improvements. It simply means that resolution isn’t the whole story. Good Glass Makes a Difference There’s another part of the equation that is often overlooked: The lens. A fantastic sensor cannot compensate completely for a poor-quality lens. The lens determines how much detail and contrast reaches the sensor in the first place. A 60-megapixel camera paired with a mediocre lens isn’t necessarily going to produce a better photograph than a 24-megapixel camera with an excellent lens. This is why experienced photographers often invest heavily in good-quality lenses rather than simply chasing the highest possible camera resolution. Dynamic Range Is Important A great photograph isn’t simply about detail. It’s also about how well the camera handles light and shadow. Dynamic range describes the range of brightness a camera can capture, from very dark shadows to very bright highlights. Imagine photographing a person standing in front of a bright window. A camera with good dynamic range may retain detail in both the person’s face and the brighter area outside. A camera with poorer dynamic range might produce a correctly exposed person but a completely white window — or preserve the window while leaving the person in deep shadow. No amount of extra megapixels automatically solves this problem. Noise Can Matter More Than Resolution Photography often involves working in difficult lighting. Raise the ISO and the camera has to amplify the signal coming from the sensor. This can introduce digital noise. A photograph with 50 megapixels that is covered in distracting noise isn’t necessarily more useful than a clean 24-megapixel image. For many photographers, the ability to produce a clean image at higher ISO settings is far more valuable than having enormous resolution. This is particularly true for: Wildlife photography Indoor photography Concert photography Wedding photography Night photography Sports photography Autofocus Can Be More Important Imagine photographing a bird in flight. Your camera has 45 megapixels. Fantastic. But if the autofocus misses the bird and focuses on the background, all those extra pixels have captured an extremely detailed photograph of the wrong thing. The same applies to sports, wildlife, children, pets and many other moving subjects. Fast and accurate autofocus can be far more important than having the highest resolution available. Image Stabilisation Matters Too Another useful feature is image stabilisation. A camera with effective stabilisation can allow you to photograph handheld at slower shutter speeds without introducing camera shake. That can be extremely valuable in low-light situations. Again, the lesson is simple: A feature that helps you get a sharp photograph is more useful than extra pixels in a photograph that isn’t sharp. Composition Beats Resolution Perhaps the biggest mistake we make when discussing camera specifications is forgetting the person behind the camera. A photograph isn’t successful because it contains 60 million pixels. It’s successful because it communicates something. A beautifully composed 12-megapixel photograph can be far more powerful than a poorly composed 100-megapixel photograph. Look at the great photographs in the history of photography. Their impact doesn’t come from pixel count. It comes from: Composition Timing Light Emotion Subject Perspective Storytelling Creativity The camera is simply the tool used to capture the moment.
The Magic of Golden Hour
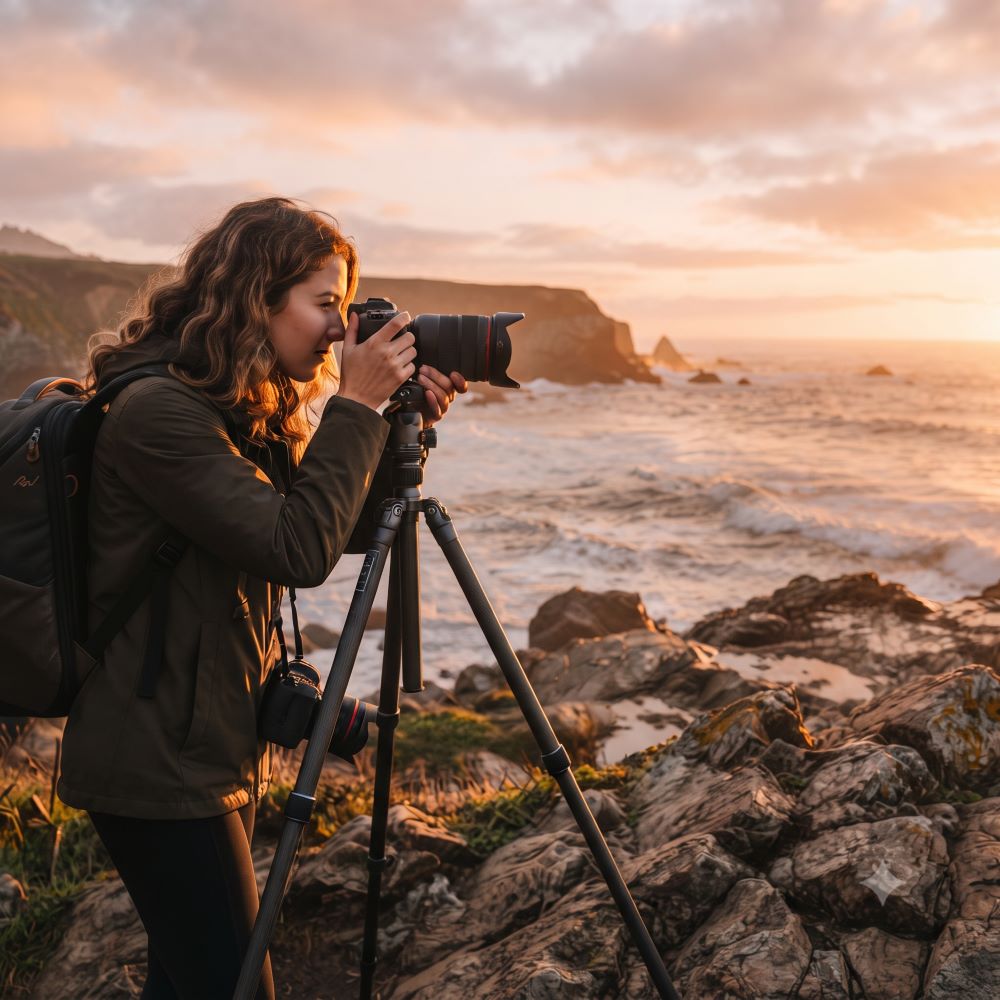
There is something almost magical about the hour around sunrise and sunset. The light becomes softer, warmer and more directional, transforming even the most ordinary scene into something special. Photographers call this time the Golden Hour — and for good reason. It is one of the simplest and most rewarding natural opportunities to improve your photographs, requiring no expensive equipment or complicated techniques. All you need is a camera, a little planning and a willingness to get up early or stay out a little later. What Is Golden Hour? Golden hour is the period shortly after sunrise and shortly before sunset, when the sun is low in the sky. Although it is called an “hour”, the actual duration varies depending on your location, the season and the time of year. In some places it may last considerably less than an hour, while in others the beautiful light can persist for longer. The important thing isn’t the clock — it’s the quality and direction of the light. When the sun is low, its light travels through more of the Earth’s atmosphere. This reduces the intensity of the cooler blue wavelengths and produces the warm golden, orange and sometimes reddish tones that give the golden hour its name. Why Is Golden Hour So Special? The biggest difference between golden-hour light and midday light is softness. When the sun is high overhead, the light can be harsh and unforgiving. It creates strong shadows, bright highlights and considerable contrast. Portraits taken in the middle of a sunny day can produce deep shadows around the eyes and under the nose. During golden hour, the sun is much lower and the light is spread more evenly. This creates: Softer shadows Warmer colours More flattering portraits Longer, more interesting shadows Greater depth and texture Beautiful highlights A more atmospheric quality Even an ordinary field, street or building can suddenly look completely different. The Direction of Light One of the most exciting things about golden hour is that you can dramatically change the appearance of your photograph simply by changing your position. Front Lighting With the sun behind you, your subject is illuminated from the front. This can produce bright, colourful and evenly exposed photographs. It’s particularly useful for landscapes where you want to capture detail throughout the scene. Side Lighting Move around so the sunlight comes from the side and you’ll begin to see texture and depth. Side lighting is particularly effective for landscapes, architecture and subjects with interesting textures. The shadows help reveal shape and form. Backlighting Perhaps the most dramatic option is to put the sun behind your subject. Backlighting can create beautiful silhouettes, glowing edges and atmospheric flare. Trees, people, buildings and plants can all become striking subjects when surrounded by warm sunlight. Don’t automatically try to eliminate lens flare, either. Sometimes a little flare can add atmosphere and help convey the feeling of the moment. Golden Hour and Portraits Golden hour is a favourite of portrait photographers because the light can be incredibly flattering. Instead of positioning your subject directly in the sunlight, try placing them so the sun is behind or slightly to the side. This can create a beautiful rim of light around their hair and shoulders while keeping their face softly illuminated by the surrounding sky. You can also use natural surroundings as reflectors. A pale wall, sandy path or even a bright patch of grass can bounce some of that warm light back onto your subject. The result can be much softer than using direct sunlight. Golden Hour and Landscapes Golden hour can transform landscape photography. The low sun creates long shadows across the landscape, revealing contours that might be invisible under flat midday lighting. Look for: Long shadows Trees or buildings catching the sunlight Reflections in water Mist or haze Interesting foreground objects Textures in fields and hills Clouds catching the warm light A useful technique is to include something interesting in the foreground. A fence, tree, rock, pathway or person can provide scale and lead the viewer into the photograph. Don’t simply photograph the sunset itself. Often the most interesting photograph is the landscape away from the sun, where the warm light is illuminating everything around you. Don’t Forget the Blue Hour Golden hour doesn’t simply stop when the sun disappears. After sunset comes Blue Hour, when the sky takes on deeper blue and violet tones. This can be particularly beautiful for city photography, architecture and landscapes. Artificial lights begin to appear while there is still enough ambient light in the sky to retain detail. The combination of warm artificial lights and cool blue skies can create a wonderful contrast. So don’t pack your camera away the moment the sun disappears. Stay a little longer. Planning Is Half the Battle Golden hour photography rewards preparation. Because the best light can disappear within minutes, arriving at the last moment often means missing the shot. Before heading out, think about: Where will the sun be? Check the sunrise or sunset time and consider where the sun will appear relative to your subject. Where will you stand? Think about possible viewpoints before the light becomes beautiful. What will the weather be doing? A completely cloudless sky can produce beautiful light, but clouds can make a sunset considerably more dramatic. What is happening around you? Look beyond the obvious. A flock of birds, a cyclist, a person walking through the scene or reflections in a puddle can transform an ordinary composition. Shoot More Than One Photograph One of the advantages of digital photography is that you can experiment. Try different focal lengths and compositions. Shoot horizontally and vertically. Move closer. Step back. Try exposing for the sky, then for the foreground. Experiment with silhouettes. Try including the sun in the frame — and then photograph without it. Don’t assume the first composition you find is the best one. Golden hour is constantly changing, so the light you see at 7:10 may look completely different at 7:20. Watch Your Exposure Golden-hour
Learning to See Like a Photographer
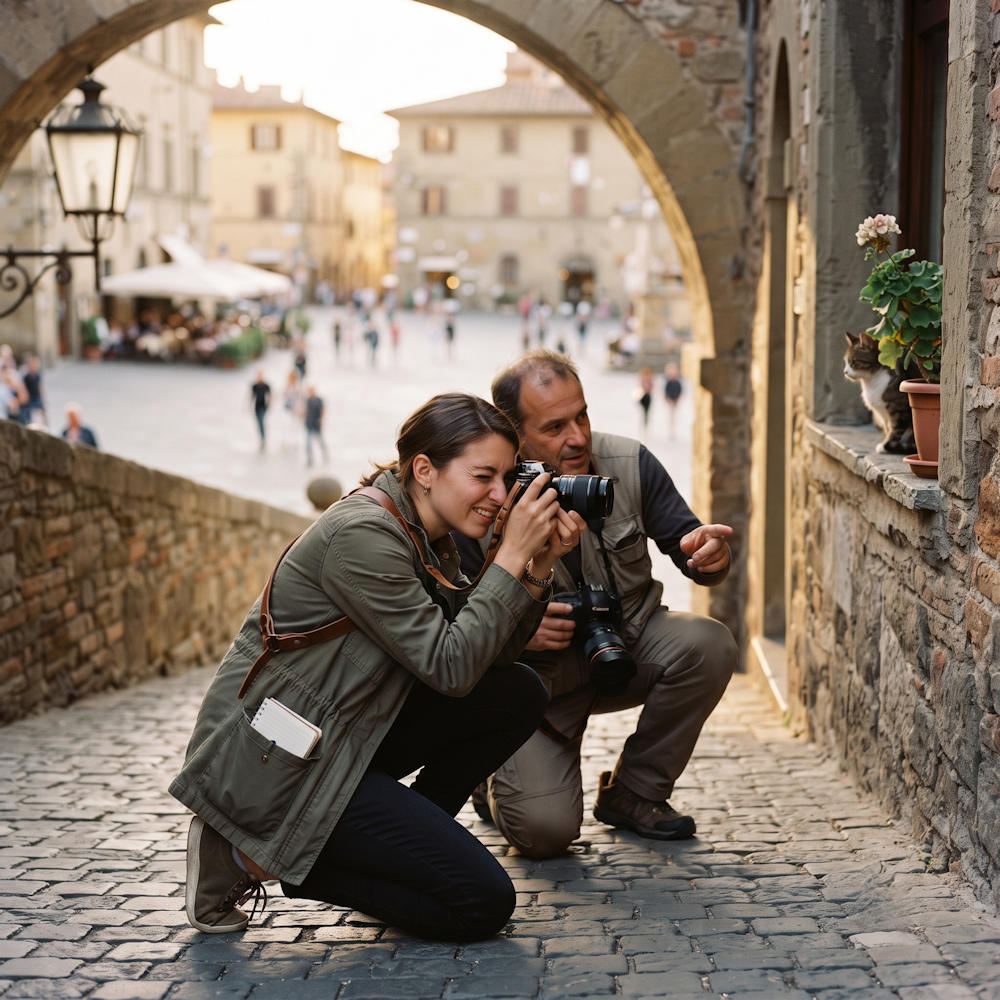
Turning Ordinary Moments into Extraordinary Images Photography is often described as the art of capturing moments, but great photography begins long before the shutter is pressed. It begins with learning to see. A camera is only a tool. The real skill lies in training your eyes and your mind to notice things that others might walk past — a shaft of light through a window, the contrast between old and new, a fleeting expression, or the way shadows transform an ordinary scene into something remarkable. Learning to see like a photographer means developing a different way of looking at the world. Look Beyond the Obvious When most people visit a beautiful location, they often take the same photograph: the famous viewpoint, the obvious landmark, the postcard image. A photographer looks deeper. Instead of only seeing the mountain, they notice the lone tree in the foreground. Instead of photographing the old building, they notice the peeling paint, the texture of the bricks, or the reflection in a puddle after rain. The question changes from: “What can I photograph?” to: “What has caught my attention, and why?” Photography is about finding stories hidden in everyday life. Train Yourself to Notice Light The word photography comes from the Greek words phos (light) and graphé (drawing or writing). Photography is literally painting with light. Light is the foundation of every image. A photographer learns to notice: The warm golden glow just after sunrise The dramatic shadows created by a low winter sun The soft, flattering light on an overcast day The way a beam of sunlight cuts through a dark room Reflections and highlights that add depth The same subject can look completely different depending on the light. A simple cup of coffee on a table can become an atmospheric still life when illuminated by morning sunlight. An ordinary street can become cinematic when captured under the glow of evening lamps. Before pressing the shutter, ask: “Where is the light coming from, and what is it doing?” Slow Down and Observe One of the biggest differences between a snapshot and a photograph is time. A snapshot is often taken quickly — “I was there.” A photograph says: “I saw something worth sharing.” Try slowing down. Spend five minutes looking at a scene before taking a photograph. Notice: Shapes Colours Patterns Textures Movement Relationships between objects The more you observe, the more photographs you will discover. Learn to See Composition Everywhere Composition is how the elements within your photograph are arranged. It guides the viewer’s eye and helps tell your story. Some useful things to look for: Leading Lines Roads, fences, rivers, paths, and shadows can naturally guide the viewer through an image. Patterns and Repetition Rows of windows, bicycles, trees, or even people can create powerful visual rhythm. Framing Use doorways, arches, branches, or reflections to frame your subject and add depth. Negative Space Sometimes what you leave empty is just as important as what you include. A lonely figure surrounded by empty landscape can communicate emotion far more strongly than a crowded image. Photograph the Ordinary Many photographers believe that interesting photographs only exist in exotic places. They don’t. Some of the most memorable images come from everyday life: A neighbour gardening A child’s forgotten toy An old doorway Steam rising from a kettle A bicycle leaning against a wall A familiar street at an unusual time of day The challenge is to make the ordinary extraordinary. A photographer sees possibilities everywhere. Develop Your Photographer’s Mindset Photography is not just about technical settings like shutter speed, aperture, or ISO. Those are important, but they come after vision. A photographer develops curiosity. Ask yourself: Why does this scene interest me? What emotion does it create? What story am I trying to tell? What would make someone stop and look? The best photographs are not always the sharpest or the most technically perfect. They are the ones that make the viewer feel something. Change Your Perspective One simple exercise is to change your physical viewpoint. Don’t always photograph from eye level. Try: Getting lower to the ground Looking upwards Moving closer Stepping back Photographing through objects Using reflections A small change in position can completely transform an image. Take Your Camera Everywhere The more you photograph, the better you become. Carry your camera or use your phone and challenge yourself: Find one interesting photograph every day Photograph the same location in different seasons Capture the same subject using different lighting Create a story with five images Photography improves through practice, observation, and experimentation. The Photographer’s Greatest Tool Is Curiosity The camera records what the photographer sees, but the photographer decides what is worth seeing. Learning to see like a photographer means becoming more aware of the world around you. It means noticing beauty in places others overlook and finding stories in moments that might otherwise disappear. The world is full of photographs. The skill is learning how to find them. Keep looking. Keep exploring. Keep creating. DigiBox Camera Club — Inspiring photographers to develop their vision, share their passion, and discover the stories hidden in everyday moments.
RAW vs. JPEG: Which Image Format Should You Choose?
When you pick up a digital camera or dive into your smartphone’s pro settings, one of the first major decisions you will face is choosing your image format: RAW or JPEG. Both formats have their own distinct strengths, weaknesses, and ideal use cases. Understanding the difference is the first step toward taking full control of your photography. What is a JPEG? A JPEG (Joint Photographic Experts Group) is the standard, universally accepted image format. When your camera shoots in JPEG, it captures the image, applies processing (like sharpening, contrast, and colour saturation), and then compresses the file by throwing away data that the human eye isn’t likely to notice. Pros of JPEG Ready to Share: Files are processed in-camera, meaning they look great right away and can be shared, printed, or posted immediately without editing. Small File Sizes: Because data is compressed, JPEGs take up much less space on your memory card and hard drive. Faster Burst Shooting: Smaller files write to the memory card faster, allowing your camera to capture more frames per second in continuous shooting mode. Cons of JPEG Limited Editing Latitude: Much of the original image data is permanently discarded during compression. Trying to recover details from heavily shadowed areas or bright highlights often results in noticeable grain, banding, or pixilation. Fixed White Balance: Colour temperature and white balance are “baked in,” making them much harder to correct accurately after the fact. What is a RAW File? A RAW file is essentially a digital negative. It contains all the uncompressed, unprocessed data captured by your camera’s sensor. Because it isn’t an actual viewable image yet, you cannot simply double-click a RAW file and post it online; it requires dedicated editing software (like Adobe Lightroom, Capture One, or dark table) to “develop” it into a viewable format like JPEG or PNG. Pros of RAW Maximum Image Quality: RAW files capture millions more shades of colour and levels of brightness than JPEGs (typically 14-bit colour compared to JPEG’s 8-bit). Unmatched Editing Flexibility: You can easily recover blown-out highlights, pull deep details out of shadows, and adjust exposure errors that would ruin a JPEG. Non-Destructive Editing: Adjustments made to RAW files are saved as metadata instructions, meaning you can always revert to your original capture. Cons of RAW Requires Post-Processing: You must spend time on a computer or phone editing your photos before they can be shared. Large File Sizes: RAW files are often 4 to 6 times larger than JPEGs, filling up memory cards and storage drives very quickly. Slower Performance: Larger files can slow down your camera’s buffer when shooting rapid bursts. Head-to-Head Comparison Feature RAW JPEG File Size Very Large Small Editing Latitude Exceptional (High flexibility) Poor to Moderate Ready to Share? No (Requires processing) Yes (Instant) Color Depth 12-bit to 14-bit (Billions of colours) 8-bit (16.7 million colours) Best Used For Professional work, landscapes, high-contrast scenes Family snapshots, sports, casual shooting, quick sharing Which One Should You Choose? The right choice ultimately depends on your goals, workflow, and what you are shooting: Choose JPEG if: You want to share photos instantly to social media or send them to friends. You are shooting high-speed action (like sports or wildlife) and need your camera’s buffer to keep up. You have limited storage space on your devices or memory cards. You prefer spending your time taking pictures rather than editing them on a computer. Choose RAW if: You are shooting professionally or creating art that you plan to print and display. You are shooting in difficult lighting conditions (such as high-contrast landscapes, backlit portraits, or dimly lit venues). You want absolute creative control over your colours, tones, and overall look during post-processing. The Best of Both Worlds Many modern cameras and smartphones offer a RAW + JPEG shooting mode. This writes both files to your card simultaneously—giving you an instant JPEG to share right away, alongside a RAW file safely stored away for when you have the time to dive into deep editing.
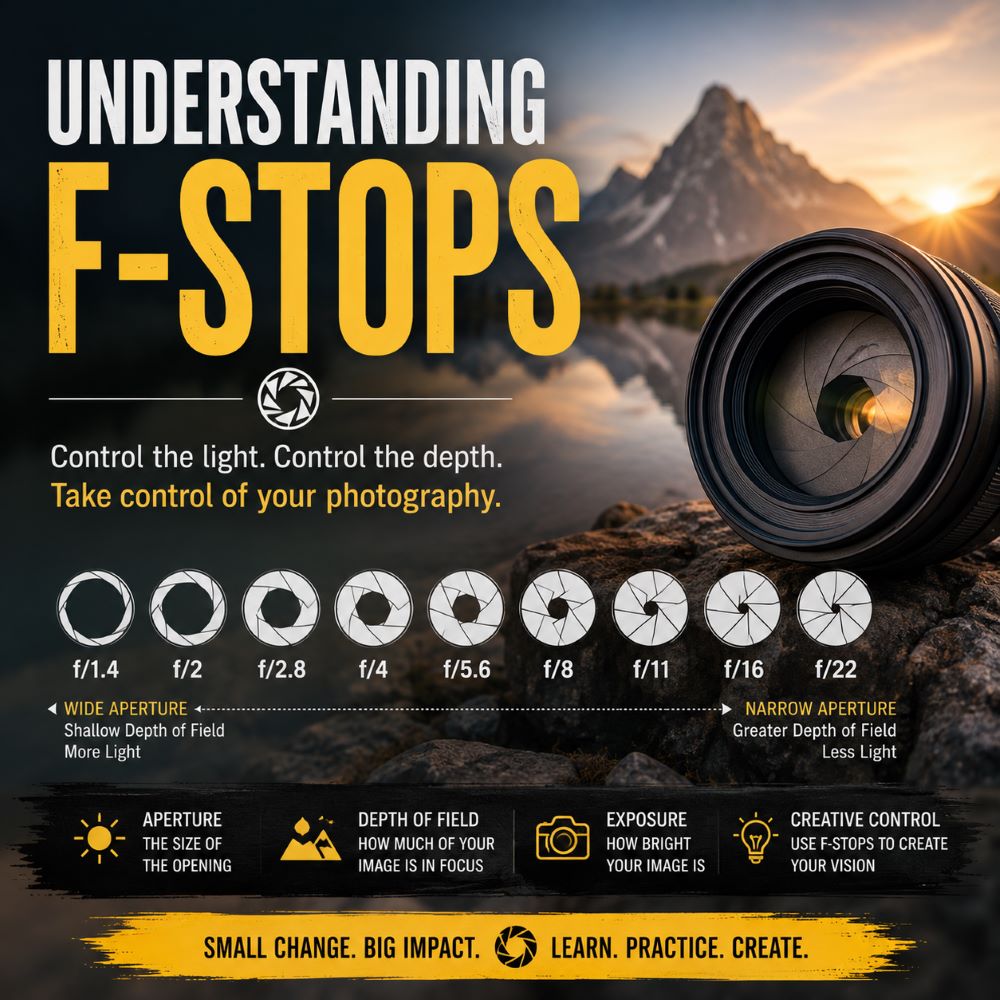
Understanding F-Stops: One of Photography’s Most Important Settings
If you’ve ever looked at your camera’s settings and wondered what f/2.8, f/8, or f/16 actually mean, you’re not alone. The f-stop, also known as the aperture, is one of the three key elements of the exposure triangle, alongside shutter speed and ISO. Once you understand how it works, you’ll have far greater creative control over your photographs. What is an F-Stop? The f-stop is a measurement of the size of the opening (aperture) inside your camera lens. This opening controls how much light enters the camera and reaches the image sensor. A low f-number (e.g. f/1.8 or f/2.8) means a large aperture, allowing lots of light into the camera. A high f-number (e.g. f/11 or f/16) means a small aperture, allowing much less light through. It may seem backwards at first, but the smaller the number, the larger the opening. Common F-Stop Values Most lenses offer a range of aperture settings, such as: f/1.4 – f/2 – f/2.8 – f/4 – f/5.6 – f/8 – f/11 – f/16 – f/22 Each full stop lets in either twice as much light or half as much light as the next setting. For example: f/2.8 lets in twice as much light as f/4. f/8 lets in half as much light as f/5.6. F-Stops and Depth of Field One of the biggest creative effects of changing your aperture is the depth of field—how much of your image appears sharp from front to back. Wide Aperture (Low F-Number) Using f/1.8, f/2.8, or f/4 creates a shallow depth of field. This is ideal for: Portraits Wildlife photography Close-up detail shots Isolating your subject from the background The result is a beautifully blurred background, often referred to as bokeh, helping your subject stand out. Narrow Aperture (High F-Number) Using f/11, f/16, or even f/22 creates a deep depth of field. This is perfect for: Landscape photography Architecture Group photographs Scenic views More of the image remains sharp from the foreground right through to the horizon. Choosing the Right F-Stop Different subjects benefit from different aperture settings. Portrait Photography Try f/1.8 to f/4 for soft backgrounds that make your subject really stand out. Landscapes Use f/8 to f/16 to keep everything from the foreground flowers to distant mountains in focus. Macro Photography Macro photography often requires f/8 to f/16 to increase the very limited depth of field when photographing tiny subjects. Low-Light Photography A wider aperture such as f/1.8 or f/2.8 allows more light into the camera, making it easier to shoot indoors or after sunset without increasing the ISO too much. Does Aperture Affect Sharpness? Yes. Most lenses are at their sharpest when stopped down slightly from their widest aperture. For many lenses, the “sweet spot” is somewhere between f/5.6 and f/8, where image sharpness is often at its best. At very small apertures, such as f/22, images may become slightly softer due to an optical effect known as diffraction. Aperture and Exposure Changing your aperture affects more than depth of field—it also changes your exposure. If you close the aperture from f/4 to f/8, less light reaches the sensor, so you’ll need to compensate by: Using a slower shutter speed Increasing the ISO Adding more light Balancing aperture, shutter speed, and ISO is the foundation of good exposure. Practice Makes Perfect The best way to understand aperture is to experiment. Choose a stationary subject and photograph it several times using different f-stop settings while keeping the composition the same. Compare the images and notice how the background blur and overall sharpness change. With a little practice, choosing the right aperture will soon become second nature. Final Thoughts The f-stop is far more than just a number on your camera—it is one of the photographer’s most powerful creative tools. Whether you’re producing dreamy portraits with silky smooth backgrounds or crisp landscapes packed with detail, understanding aperture allows you to decide exactly how your photographs will look. So next time you’re out with your camera, don’t just leave it in Auto mode. Experiment with different f-stops and discover how this simple setting can transform your photography.